Creating an In-the-Hoop Tablet Case with Quilted Design Using Array Fill
In this project, we guide you through creating a custom tablet case with a stunning quilt-like design using the Array Fill feature. This technique not only enhances plain fabrics but also complements quilting projects, adding a unique touch to even the simplest sewing creations.
You’ll learn how to craft a beautiful scallop pattern that not only decorates your tablet case but also secures the protective batting in place.
We’ll take you step-by-step, from measuring your tablet and rounding the corners of your case to designing and customizing your pattern with gradient colors. The process includes optimizing the embroidery sequence and finalizing the design, ensuring a seamless and polished finish.
Getting Started with the In-the-Hoop Tablet Case
First things first, we need to measure our tablet to ensure a perfect fit. Measuring accurately is crucial to ensure that your tablet fits snugly in the case without being too tight or too loose. Measure your device and add 3 cm to each dimension to account for seam allowance. This extra space will accommodate the batting and seams, ensuring a professional finish. For example, if your tablet is 135mm by 200mm, you’ll draw a rectangle of 165mm by 230mm. This method ensures that you can create a custom case regardless of your tablet’s size.
To make the bottom corners rounded, right-click on the rectangle and choose “Convert to Curves.” Using the node editor, add nodes approximately 2 cm from each corner and delete the corner node to create smooth curves. Rounding the corners not only enhances the aesthetic appeal but also makes it easier to turn the case right side out after stitching, reducing bulk at the seams.
Preparing the Applique
Set the fill of this shape to applique and remove its outline for better visibility. The applique fill will first stitch a running line on the stabilizer, which acts as a guide for placing the batting and fabric. This ensures that everything is positioned correctly from the start. The second running stitch secures the batting and fabric in place, providing a stable base for the decorative stitches that follow.
Using the autoborder tool, create an additional running line 10mm outside the shape. This line will act as our seam allowance guideline and will also be filled with our pattern. The seam allowance ensures that the edges of the fabric are caught in the seams when the case is assembled, giving it a neat and professional finish.
Creating the Quilted Design Pattern and Applying it with Array fill
Now comes the fun part – creating the quilted pattern. Select a fill color for the new rectangle and go to Fill properties. Choose the array type, and from the clipart library, select “pattern 05 wave” for a simple two-line wave pattern. This pattern is inspired by traditional Japanese Sashiko stitching, known for its repetitive and geometric designs that add a touch of elegance and sophistication to any fabric.
Insert it by clicking and dragging, holding the shift key to keep it parallel to the x-axis. Keeping the pattern aligned with the x-axis ensures uniformity and helps maintain a consistent look throughout the design. Adjust the size and placement as needed. The ability to customize the size and orientation of the pattern allows you to tailor the design to fit your specific project.
Set the fill type to rectangle and ensure “Trim shapes” is checked. This setting trims the pattern to fit perfectly within the boundaries of the shape, preventing any parts of the pattern from extending beyond the edges. Use the node editor and keyboard arrows for precise adjustments. Fine-tuning the pattern placement ensures that it looks balanced and professional.
You can further customize by separating the pattern into objects, ungrouping, and applying different colors or stitch types, such as satin serial for a more playful look. Customizing the pattern colors and stitch types adds depth and interest to the design, making your tablet case truly unique.
Finalizing the Design
To optimize the stitching sequence, set the optimization strategy to “Top to Bottom.” This ensures the upper parts are embroidered first, followed by the lower parts. Sequencing the stitches in this way prevents the fabric from shifting and puckering, resulting in a smoother finish. Now, one side of the tablet case is ready.
For the other side, feel free to use the same design or create a variation. This flexibility allows you to experiment with different patterns and colors, giving each side a unique look. Save your first design under a new name to keep all parts ready. This way, you can easily make modifications without starting from scratch.
You can draw a circle, duplicate it, and use the autoborder tool to create repetitions, adjusting positions and trimming unnecessary parts. This technique is excellent for creating intricate designs with minimal effort. Apply your preferred colors and stitch types, then convert the shapes to fill the tablet case area. Ensure the final running stitch includes the necessary seam allowance. This step is crucial for maintaining the integrity of the seams when the case is assembled.
Prepare the design and finalize the sequence by grouping all parts of each color together. This step helps streamline the embroidery process, ensuring that the machine stitches all sections of one color before moving on to the next.
Materials Required
Before we dive into the design and creation process, let’s gather all the materials you’ll need to complete this project:
- Embroidery Machine: Capable of handling in-the-hoop designs.
- DRAWings PRO embroidery software: To design and digitize the pattern.
- Stabilizer: A piece large enough to fit your hoop.
- Fabric for the Outside Layer: A piece slightly larger than the design.
- Fabric for the Lining: Another piece slightly larger than the design.
- Batting: Two pieces slightly larger than the design.
- Assorted Threads: To match or contrast with your fabric.
- Elastic Band: For the closure.
- Button: To secure the elastic band.
- Printout of the Design: To use as a guide.
- Paper Tape: To hold fabric in place during stitching.
- Scissors: For trimming fabric and batting.
- Iron: For pressing the final product.
- Pins: To hold the elastic band in place during assembly.
Having these materials ready will make the process smoother and ensure you achieve the best results.

Assembling the Tablet Case
With the design work completed, it’s time to bring your creation to life. Gathering all your materials beforehand ensures a smooth assembly process. Here’s a step-by-step outline to help you assemble your tablet case effectively:
First Side
- Hoop the Stabilizer: Place a layer of stabilizer into the hoop. The stabilizer provides a firm base for your embroidery, preventing fabric puckering and distortion.
- Load the Design: Load the digitized design into your embroidery machine.
- Stitch the First Running Line: This initial stitch acts as a placement guide for the batting and fabric.
- Place the Batting and Fabric: Cut two pieces of fabric and two pieces of batting, slightly larger than your design. Position one layer of batting and one layer of fabric on top, ensuring they cover the running stitch. The batting provides cushioning for your tablet, while the fabric serves as the outer layer of the case.
- Secure with the Second Running Stitch: This stitch holds the batting and fabric in place, providing a stable base for the decorative stitches.
- Trim Excess Batting: Carefully trim away the excess batting between the stabilizer and the fabric. This step reduces bulk at the seams, ensuring a cleaner finish.
- Embroider the Decorative Stitches: Follow the sequence to embroider the decorative pattern, switching threads as needed for your chosen colors.
- Cut Around the Design: Use the final running stitch as a guide to cut around the first side of the tablet case. This precise cutting ensures that the seam allowance is even all around.
Second Side
- Repeat the Process: Follow the same steps as above to prepare the second side of the case.
- Place the First Side on Top: Align the first completed side on top of the second side, right sides facing together. Use paper tape to hold them in place.
- Final Running Stitch: Secure the two parts together with the final running stitch, which follows the seam allowance guide.
Finishing Touches
- Remove the Hoop and Stabilizer: Carefully remove the hoop from the machine and detach the stabilizer.
- Trim Excess Fabric: Cut the fabric up to the seam allowance line, ensuring clean edges.
- Turn Right Side Out: Gently turn the case right side out. Use a point turner or a blunt tool to push out the corners for a crisp finish.
- Add Elastic Band and Button: Find the middle of one top side and pin the elastic band in place. Sew a button on the opposite side to secure the band, providing a practical and stylish closure.
- Attach the Lining: To give your case a professional finish, add a lining. Use a print of your design as a guide, mark the outer line, and then mark some seam allowance to the inside. Sew the two layers of lining together, leaving an opening at the bottom.
- Slip the Lining Over the Main Case: Align the lining with the main case and stitch around the top edges.
- Final Stitching: Pull the main part of the case out through the opening in the lining, sew the opening closed, and then iron the case.
- Top Stitch Around the Edge: Top stitching not only secures the lining in place but also adds a decorative finish.
Final Thoughts
Your custom in-the-hoop tablet case is now ready! This project demonstrates the versatility and creativity you can achieve with DRAWings PRO embroidery software. From measuring and designing to assembling and adding final touches, each step is an opportunity to customize and perfect your creation. This technique is versatile, perfect for creating various projects like glass cases, coin purses, and more.
We hope this detailed guide inspires you to explore the endless possibilities of in-the-hoop designs. We’d love to see your creations – share them in the comments below and follow us for more embroidery inspiration!
Stay tuned for more tips and tricks, and happy embroidering!
DRAWings PRO Help Group
Happy crafting and don’t forget to share your creations with us in the
DRAWings PRO Help Group!
You can download the .DRAW file of the project, for free, from the link below:
- Project’s .DRAW file: Creating an In the Hoop Tablet Case with Quilted Design Using Array Fill
It can open only with the XII and later versions of DRAWings embroidery software
Frequently Asked Questions
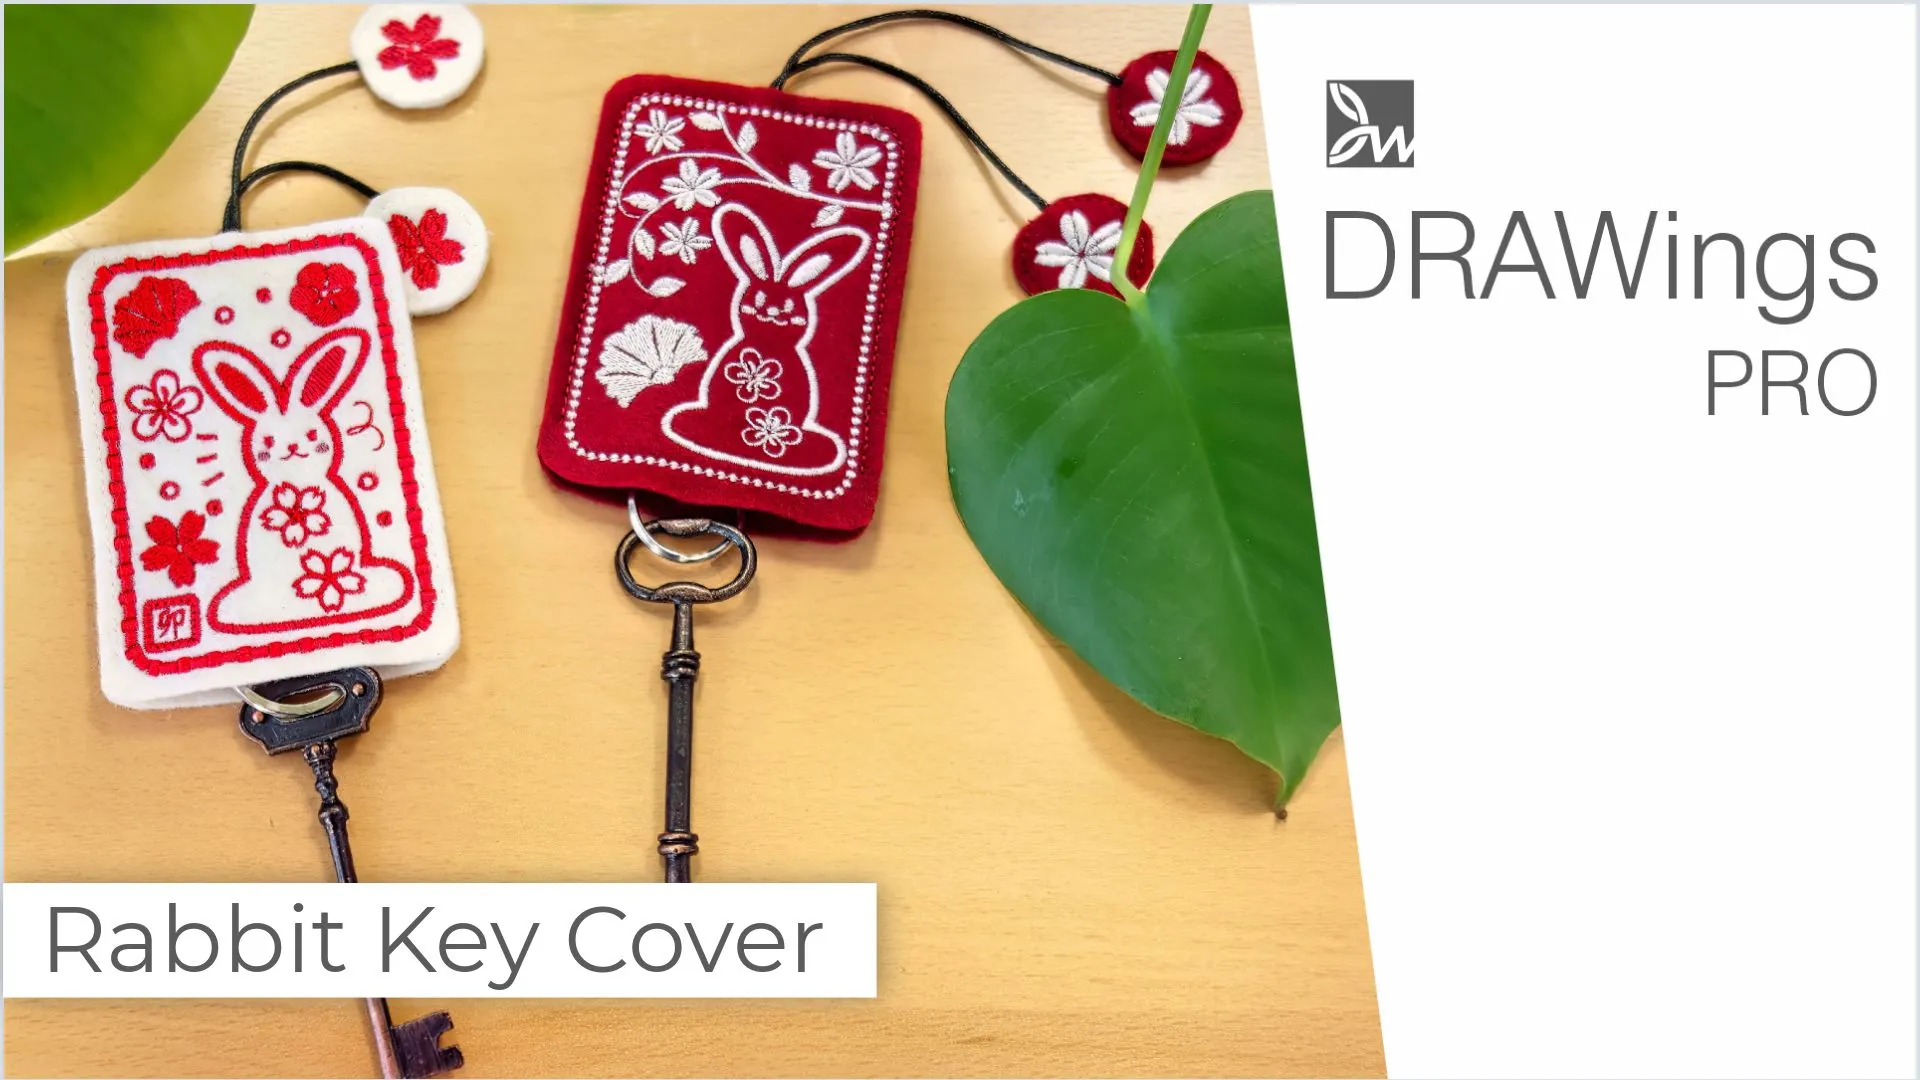
Check also, our related projects “Puff Foam embroidery: Mastering 3D Embroidery on Hats“, “DIY Drawstring Backpack with Applique Decoration“, “How to Make a Detachable Collar with an Embroidered Monogram” & “HOW TO MAKE A BEAUTIFUL RABBIT KEY COVER FROM SCRATCH” & “DIY: HOW TO MAKE A CUSTOM GLASSES CASE WITH YOUR OWN DESIGN“,”DIY Valentine’s Day Special: Create Your Own Split Heart Keychain“


