Easy way to create and embroider a circle logo
If you’re looking for an easy way to create and embroider a circle logo, look no further! This Instructive guide-video provides simple, step-by-step instructions that will have you sewing like a pro in no time. With just a few basic supplies, you can create a beautiful sewn logo that will add sophistication and style to any project. So why wait? Get started today!
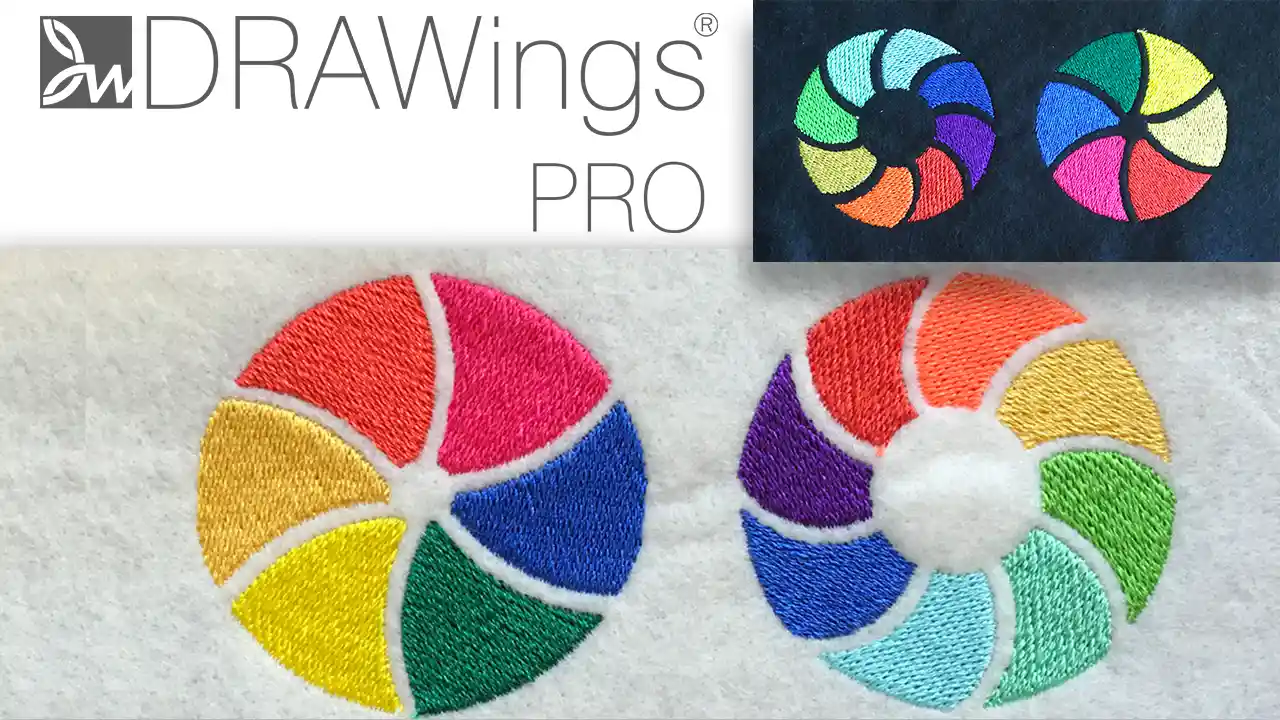
In this video, we will show you a way to create a circle logo using simple shapes and the circular array tool.
Create the circle embroidery logo
We will start by creating a circle with the use of the ellipse tool. Select the ellipse tool and click-and-drag to create the circle. If you hold the Ctrl key down while dragging, you make sure that you get a perfect circle instead of an ellipse. Release the mouse to finalize the shape. if you are not satisfied with the result, you can resize it by using the available tools.
Remove the outline, as we don’t need it, by clicking on the empty color and move the circle to the center of the axis. Select a color for the circle and by clicking the duplicate button we will create a duplicate of the initial circle on top of it. We will make it a little bit smaller and give it a black color.
Create the curved lines for the custom logo
We will create a curve line that will be used in the creation process of the logo. Select the outline tool and create a curved line. Set the created line as Satin serial and its width at 1.5mm. Select the line, right-click and use the Convert outline to object option.
Use the Circular array tool to create a unique logo shape
Start the Circular array tool and a preview of the array will appear that you need to customize it. Since we want a full circle we will type the same value for the start and end angle. We will select how many lines we want. If you are not happy with it, you can grab any of the red handles and change the rotation.
In this way, you can create any layout you like. You can experiment until you reach the layout you find more pleasing for your embroidery logo. For the purpose of this custom logo-like design, we want the lines to touch the circle at the center and go a little to the outside of the green circle. When you are done with the adjustments, apply the array.
Use the shaping tools to customize the logo design
We want all the black parts to be selected. An easy way to do this is to right-click on the black color and then use the Select by fill color option. Having all the black parts selected, go to the Shaping menu and use the Weld option
Select both, the green circle and the black lines, go to the Shaping menu and use the Trim option. In this way, the black parts will trim any other part which is underneath. After creating the holes, we can remove the black part.
Finalize the custom logo design
Use Break apart to separate the slices and apply any color you like to the individual slices. Likewise, using a circle, a line, and different layouts with the array tool you can create any variation you like with just a few clicks.
DRAWings PRO Help Group
Happy crafting and don’t forget to share your creations with us in the
DRAWings PRO Help Group!
You can download the .DRAW file of the project, for free, from the link below:
- Project’s .DRAW file: Circle-custom embroidered logo
It can open only with the latest version of DRAWings embroidery software
Check also, our related project Embroidered heart brooch
Related FAQ
Can logos be embroidered?
Yes, logos can be embroidered. In fact, embroidery is a great way to create professional-looking t-shirts for your company. With the right software and equipment, you can create beautifully embroidered logos that will add sophistication and style to any project.
How do you embroidery logos on a t-shirt?
There are a few different ways to embroider a logo on a t-shirt. You can use an embroidery machine, or you can do it by hand.
If you’re using an embroidery machine, you’ll need to create a design in embroidery software for the logo and then transfer it to the machine after saving it to a compatible embroidery file format. The process of transferring the design is a bit different depending on which machine you’re using, so you’ll want to consult the manual of the machine.
If you’re doing it by hand, you’ll need to create a template for the logo and then use that template to trace the design onto the fabric. Once you’ve traced the design, you can start stitching it using a needle and thread.
To embroider a logo on a t-shirt using an embroidery machine, you’ll need to prepare the shirt by stabilizing it. This can be done by placing a piece of stabilizer on the back of the shirt or by spraying it with temporary adhesive(for locking it in place) and then hooping it properly. Once the shirt is stabilized, you can then place the hoop on the embroidery machine and begin the sew-out process.
How can I digitize my logo for embroidery?
There are a few ways that you can digitize your logo for embroidery. You can use software to create a vector image of your logo, or you can import the vector design of your already made logo, or you can even scan your logo and use the software’s converter to trace the image and create a vector image. The vector design inside the software will be converted automatically to embroidery waiting from you to fine-tune it and send it to the machine.
What is an embroidered logo?
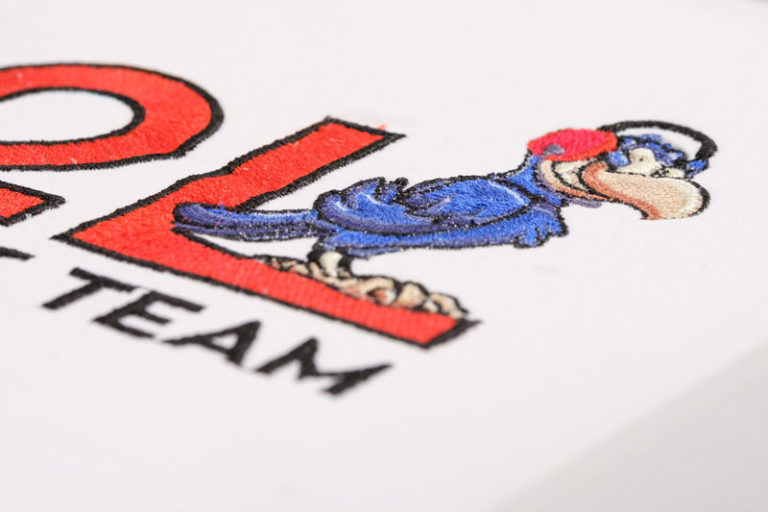
An embroidered logo is a logo that has been stitched onto a piece of clothing or fabric. The embroidered logo has the advantage that it is stitched and thus does not be worn out or get damaged. This means that you can for example wash your clothes without having to worry about the logo getting damaged in some way.
There are many advantages to using an embroidered logo rather than a printed logo. One of the biggest advantages is that embroidered logos look much more professional and high-quality than printed logos. Embroidery also lasts much longer than printing, so your logo will look good for years to come. Additionally, embroidered logos are more resistant to fading and wear and tear, making them a more durable option.

