Master Chain Stitch Style with DRAWings PRO Embroidery Software
Hello, embroidery enthusiasts! Today, we’re going to explore how to create a chain stitch-like design using DRAWings PRO Embroidery software. This technique doesn’t require any special equipment or a specific type of machine. So, let’s dive in!
Understanding the Chain Stitch
Chain stitch is a flexible stitch created either by hand or by a specific type of machine. Unlike normal embroidery machines, these machines don’t have bobbin thread. Instead, the main thread loops in itself to create the stitch.
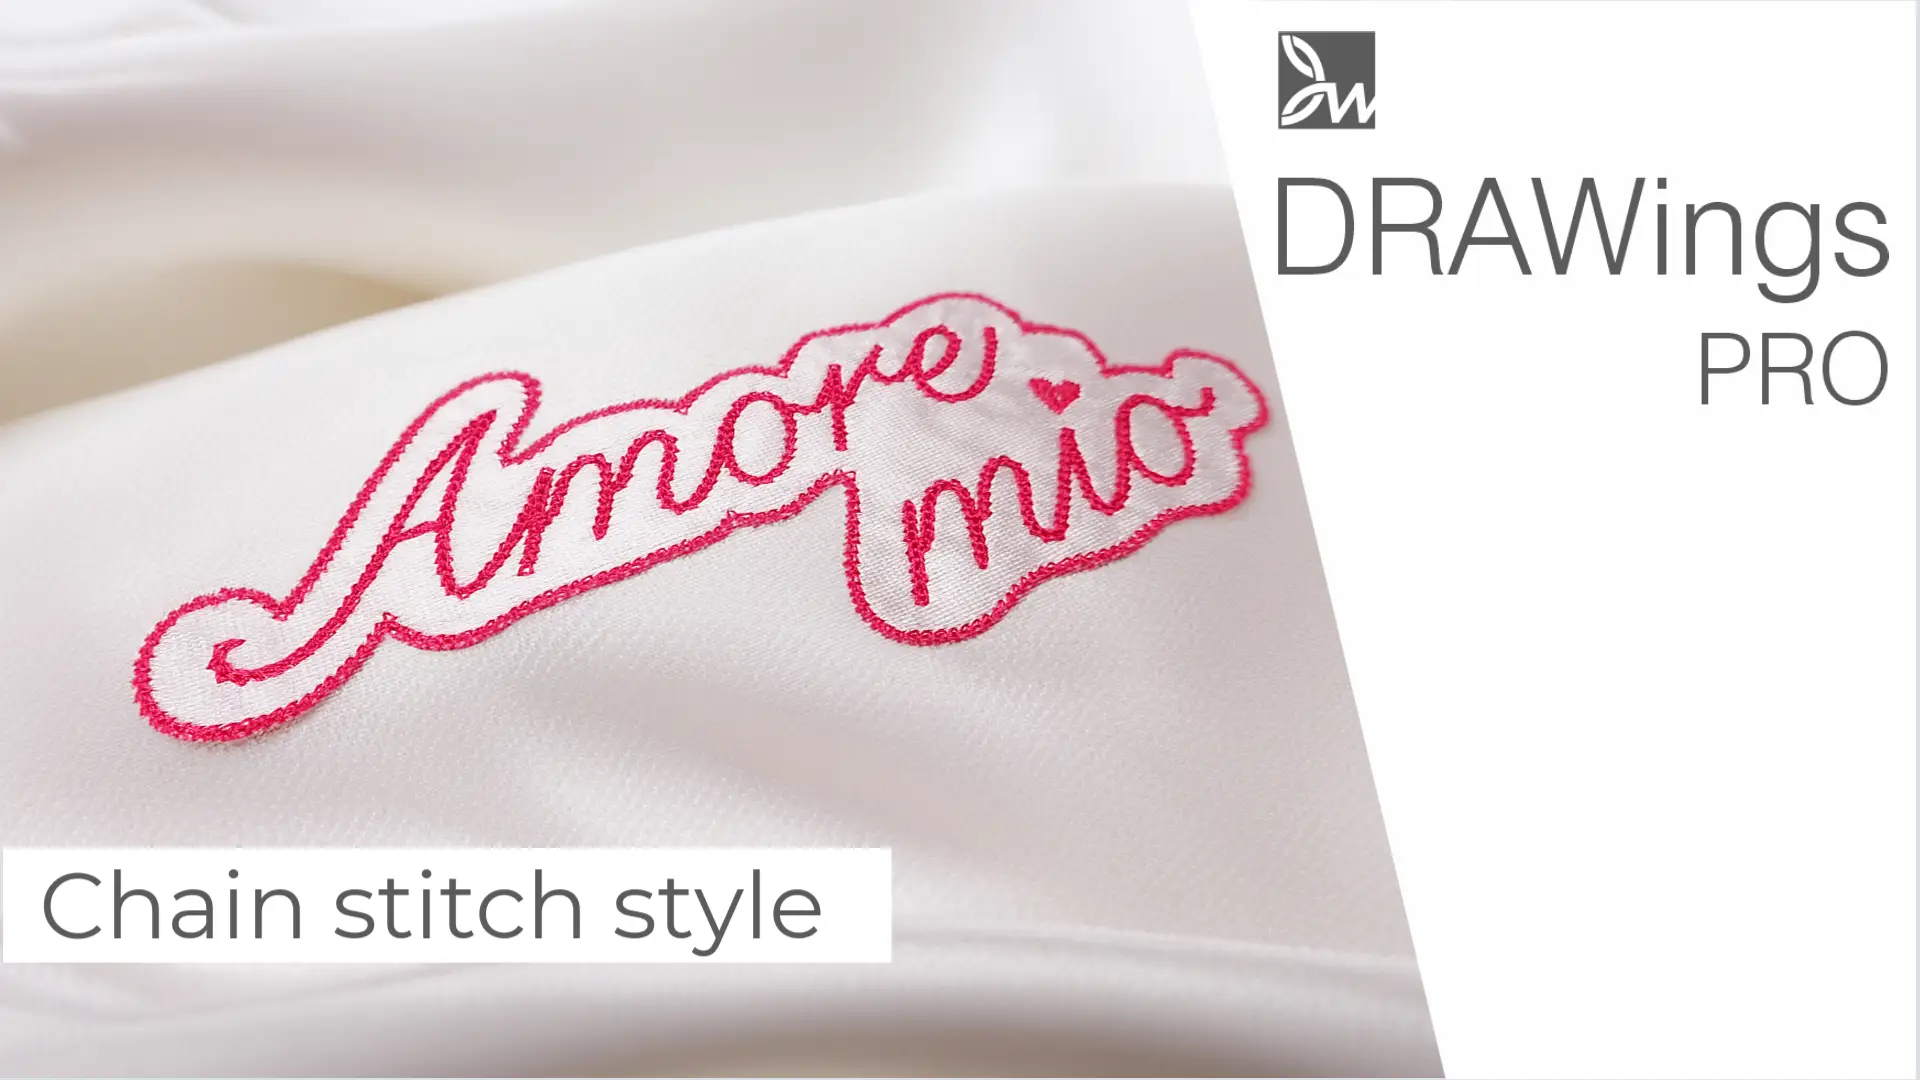
To achieve this chain stitch look with our software, we’ll start with the lettering tool. You can type anything you like. For this demonstration, we’re aiming for a font that resembles a continuous line to mimic a continuous chain stitch. We’re using the font xpg242, which creates a continuous line. Feel free to adjust the size as needed.
Converting Fill to Center Line
Once you’ve selected the lettering, right-click and apply the ‘Convert Fill to Center Line’. Your lettering will now be a series of lines and curves. Using the node editor, you can edit these lines to give your word the shape you want.
Applying the Chain Style and Adjusting Its Size
When you’re done shaping your word, go to the properties bar and set the outline type to ‘running’. From the stitches menu, select the ‘Chain’ style. Your outline is now covered with the chain style.
You can adjust the size of the style on your line. By adjusting the outline width, you can make the style bigger or smaller. The outline width adjusts the width of the style, while the length of the style is automatically adjusted by the software so that the style is scaled proportionally.
You can also manually adjust the length of the style. However, in this case, the scaling is not proportional anymore. Setting a length value affects only the length of the style. By increasing the length in relation to the width, you can create longer styles, and vice versa.
Enhancing Your Design
In your lettering design, if you make a scaled duplicate, remember to increase the outline width as well. Making a duplicate on top of the original makes it pop and provides depth. Using a slightly shifted duplicate in a different color, you can create a shadow-like effect. Feel free to adjust the design according to what pleases you the most.
In our take, we replaced the dot on top of the ‘i’ with the shape of a heart. The possibilities are endless; just use your imagination. You can apply this chain stitch style to a handwritten message, as described in a previous video about how to Create Your Own Split Heart Keychain for Valentine’s Day.
Conclusion
With DRAWings PRO Embroidery software, you can create intricate chain stitch-like designs without needing any special equipment. Experiment with different fonts, adjust the style size, and play around with duplicates to create depth and shadow effects. The possibilities are endless, so let your creativity run wild!
Happy stitching!
DRAWings PRO Help Group
Happy crafting and don’t forget to share your creations with us in the
DRAWings PRO Help Group!
Check also, our related projects “DIY Valentine’s Day Special: Create Your Own Split Heart Keychain“, “Puff Foam embroidery: Mastering 3D Embroidery on Hats“, “DIY Drawstring Backpack with Applique Decoration“, “How to Make a Detachable Collar with an Embroidered Monogram” & “HOW TO MAKE A BEAUTIFUL RABBIT KEY COVER FROM SCRATCH” & “DIY: HOW TO MAKE A CUSTOM GLASSES CASE WITH YOUR OWN DESIGN“
Remember, DIY projects are all about creativity and adaptability, so don’t hesitate to experiment and make it truly your own. Happy crafting!


