Create Beautiful Custom Round Patches with DRAWings
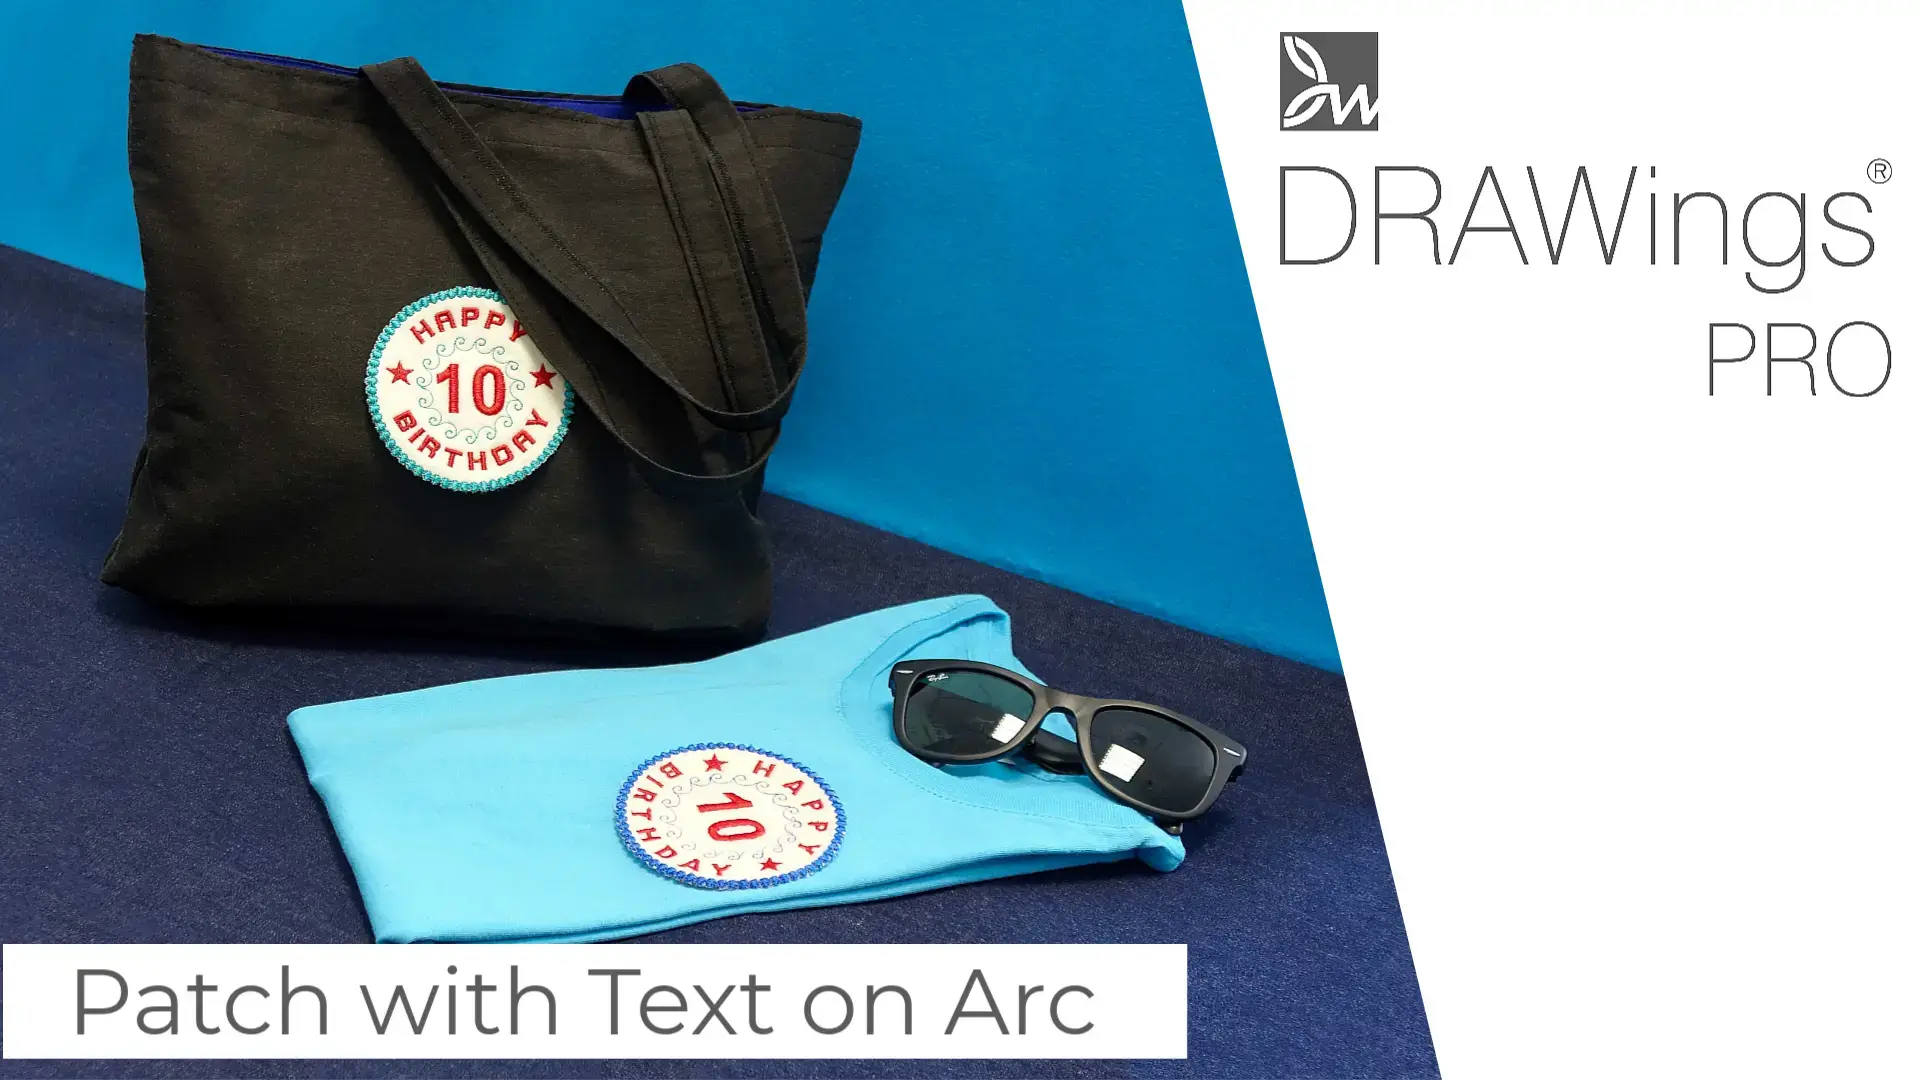
Create Custom Round Patches: In this tutorial, learn how to craft personalized embroidered patches with text placed on an arc. Custom patches add a unique touch to clothing, bags, or accessories, perfect for family events or special occasions. Imagine the delight of seeing your loved ones at a family gathering or a special event, all wearing a patch that you designed! Follow along as we demonstrate the step-by-step process, from designing the patch to embroidering the final product.
Getting Started
We’ll start with a blank design. When making customized patches, it’s important to select the hoop that best fits the size of the patch you plan to make. For our patch, which is about 85 mm in width and height, we’ll choose a suitable hoop.
Designing the Custom Round Patches
The designing steps are straightforward. We begin with a circle and then use a scaled duplicate of that circle. We place the text between the lines and then decorate them.
Creating the Base
Start the ellipse shape tool to draw a circle. Hold the Ctrl key down while drawing to create a perfect circle. Make sure Proportional is enabled and set its Size to 50 mm. Remove the fill as we don’t need it and center it to the hoop. Now, duplicate this circle and set its size to 85mm in width and height. This circle will be the outer edge of the patch.
Adding Text
We want to add text between the biggest circle and the smaller one. Start the Text Tool and type the text for the top part. Select a Font and set the size. This text will go to the upper part of this circle. To do that, we will go to Placement and select On Arc placement. Use these green handles to place the arc on top of the inner circle. Set text alignment to Center (this is in regard to the X axis). From Text placement select Bottom option, so that the text is above the line.
Aligning the Text
If the text is not fully aligned between the lines (that is, in regard to the Y axis), you may try doing so manually, by moving the arc. You may also create another circle, to use as a guide, which could also be used to align the bottom text as well. So create a duplicate circle and set its width or height to 53mm. Place the arc of the text on this line.
Decorating the Patch
Now let’s decorate our patch. We will draw 2 stars, one on each side of the circle. Start the Star shape tool. I want a 5 ray star and I will also set the ray size to 50%. Make a duplicate and move it to the other side of the circle. The stars will act as a separator between the text objects.
Finalizing the Design
The patch is almost ready. Using the ordering options will bring the inner circle to the front of the design. Then, select the outer circle and set it to applique. This will be the fabric of the patch.
Embroidering the Design
Now that our design is ready, it’s time to embroider! For this project, we will need a piece of felt, assorted embroidery threads, stabilizer, adhesive spray, and a hoop.
Conclusion
Creating a customized round patch using DRAWings PRO Embroidery software is a fun and rewarding process. With this technique, you can create your own custom embroidered patches for various purposes. Whether you apply it by sewing, using cloth glue, or iron adhesive, the joy of creating something unique and personal is unparalleled.
So, get your creative juices flowing and happy patching!
DRAWings PRO Help Group
Happy crafting and don’t forget to share your creations with us in the
DRAWings PRO Help Group!
You can download the .DRAW file of the project, for free, from the link below:
- Project’s .DRAW file: Create Custom Round Patches with DRAWings PRO
It can open only with the XI and later versions of DRAWings embroidery software
Check also, our related projects “DIY Valentine’s Day Special: Create Your Own Split Heart Keychain“, “Puff Foam embroidery: Mastering 3D Embroidery on Hats“, “DIY Drawstring Backpack with Applique Decoration“, “How to Make a Detachable Collar with an Embroidered Monogram” & “HOW TO MAKE A BEAUTIFUL RABBIT KEY COVER FROM SCRATCH” & “DIY: HOW TO MAKE A CUSTOM GLASSES CASE WITH YOUR OWN DESIGN“
Remember, DIY projects are all about creativity and adaptability, so don’t hesitate to experiment and make it truly your own. Happy crafting!


