Create Christmas Decoration Angels with DRAWings
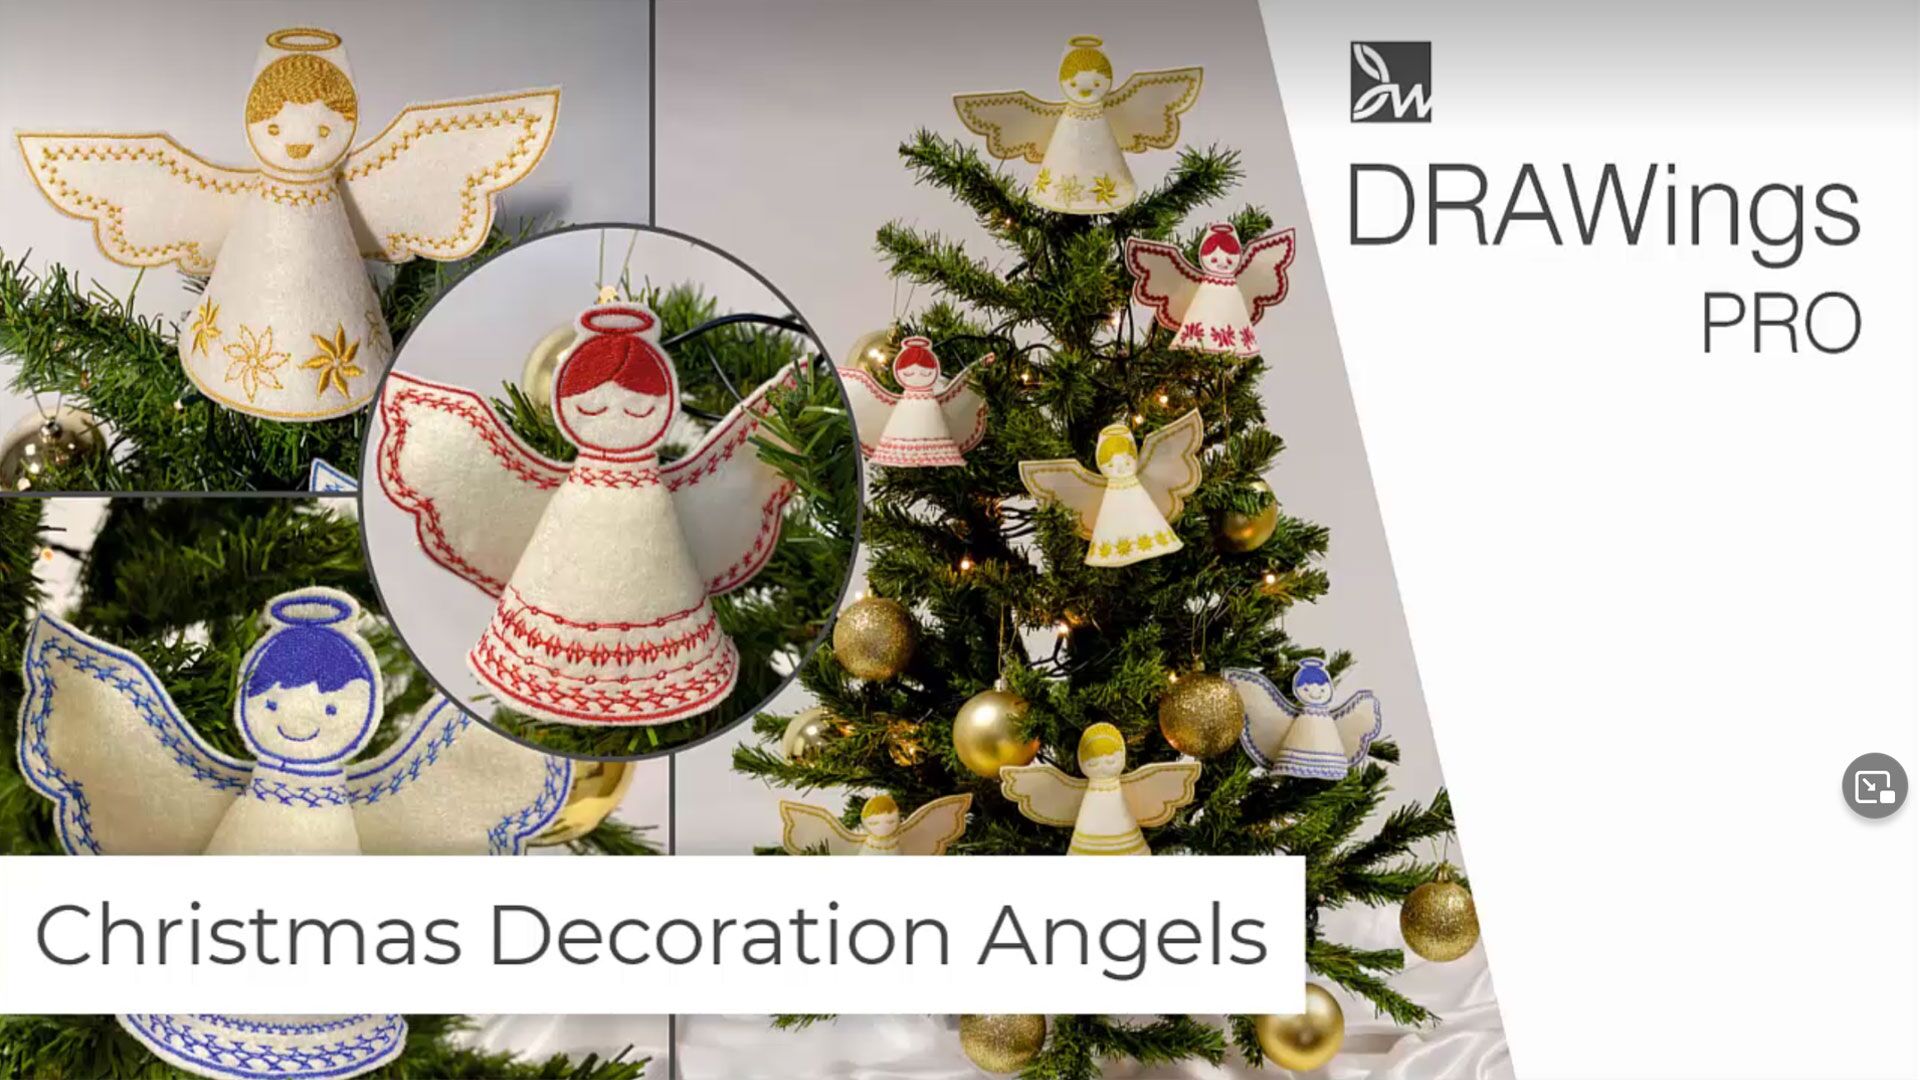
In this video we will show you how to make a gorgeous but easy-to-make angel for this Christmas.
View the video bellow to learn how to do it!
Before you start designing, set the fabric and sewing machine or hoop, if you want to use something different from the default settings. Then select a hoop for the design. For the purposes of this design we will select a normal fabric.
Create the angel shape
The easiest way to make a three-dimensional angel is to make specific cuts on the flat round design and use those to keep the 3D angel in place. Start the ellipse tool, and click and drag on the design area to create a perfect circle about 5mm smaller than your hoop. To do that, hold the Ctrl key pressed down and click and drag from the upper left corner to the lower right corner. Release the mouse and the Ctrl key, and the circle is created.
Now we need to verify that we have indeed created a perfect circle and make sure it is centered within the hoop. So, select the created ellipse and on the Tools options bar check if Width and Height values are the same. If they are not the same or if you want to change the size… …make sure that proportional is disabled and type the desired value for width or height.
To make sure that the circle is centered in the hoop, tap on the machine icon and use the Center to hoop option. Then, click on Duplicate button to create a duplicate circle. Next, right click and use the option Use shape as work area; this will be our guide area. The guide area is below the object, so you can’t see it at this point, but you can see it by shifting the object.
Having the circle object selected, go to convert menu on the top toolbar and use Convert to curves option. We do so, to be able to fully edit the circle shape later on. Remove the Fill from the circle as we don’t need it. Now start the Node editor to edit the shape.
On this upper node we will add a node 5mm to the left and one 5mm to the right of the center. To do so, put the mouse cursor on top of the line, at the point you wish the node to be added. Right click and use Add node option. You can also double click on the line to add a node at that point. Now select the 2 new nodes, right click and use Cusp node option. Drag the center node to the position -1.2 on the vertical axis. For the dragged node, right-click and use Auto smooth node option.
Now start the ellipse tool once more to create a circle which will be the head of the angel. Select the circle that you have made and set the tool options: to 0 on the horizontal axis, 5.0 on the vertical, while width and height are set to 3.0. The positioning is ideal for our design on this specific hoop; if you are using another hoop though, take your time to fine-tune the placement.
Remove the fill from this circle as well. Again using the Ellipse tool, we shall create the angel’s halo. Draw an ellipse, on top of the angel’s head. Then, draw another ellipse inside the first one ellipse, this time, slightly smaller. Switch back to selection mode and select both ellipse shapes. On the top toolbar, from Shaping menu, use trim option. The shape of the ellipse on top will be trimmed by the one below. Delete the small ellipse, remove the outline from the shape and select a more appropriate color.
Now we need to draw two lines with a width of 3 cm at -5.0 on the vertical axis. These will be our cut lines. Add 4 nodes to help you adjust the outline of the angel. The ones next to the head will be made auto-smooth nodes…While the ones on top of the halo will be cusp nodes. We will move the cusp nodes closer to each other ……and change the curves they are connected with, into lines. Fine tune the shape. This part shown in blue and the two cut lines are to be cut out right after embroidery, in order to make the 3D angel. So, this is the basic pattern of the angel.
Decorate the angel design
The following is our take of decorating it. Feel free to design your angel’s face, wings and robes in any way you like.For instance, to change the shape of the wings, we may add a few nodes, so that we can add more curves to the wings. The guide area can be used as a guide to maintain symmetry. Select the wing, right-click on the mouse, and click Autoborder .Set To the inside and the Distance to 5.0 mm and click OK.
Select the created auto border, click Edit nodes, place the mouse slightly above the cut line, right-click and click [Split Outline]. Select the created autoborder, right-click and use Break apart option.The autoborder is now in two parts, the upper and the lower.
Select the upper part and from the properties area, select a style to be applied. Change the color to make the finished image more vibrant. Then for the lower part, instead of a style, we may use a clipart item to decorate it. Select any clipart item and click and drag to define its size. Use the same color as before.
Select both the lower part and the clipart design at the same time. Right click and from the appearing menu go to Array and use the option Create outline from shapes.The clipart is roughly placed on the line. Resize slightly so that the design is inside the shape. Delete the clip art you placed first. Have in mind that the cut line is a mark of where to make a cut after the embroidery is complete, so avoid this area when embroidering.
If there is embroidery on this line, the thread will fray when you make a notch, so make sure that there is no embroidery in this place. Make sure you edit the shape of the upper and lower part so no embroidery goes on top of the cutting lines.
Start digitizing the shape of the angel’s hair. Fine tune the shape using the node editor if necessary and apply the same golden color. Using the ellipse shape, create the eyes and the mouth of the angel. At this point you can be as creative or minimal as you like, actually. Position them accordingly and apply the golden color. Finally select all the black outlines, apply the golden color to them as well and set their type to Satin serial and you are done.
Embroider the design
Send the design to the sewing machine by selecting the supported method from your embroidery machine. Turn on the machine and load the design. Set the bobbin thread and needle thread accordingly. Since the back side will be visible when the angel is assembled, make sure you use the same thread for both needle and bobbin.
Hoop the felt, attach the hoop to the sewing machine and start embroidering. When the embroidery is complete, remove the hoop from the sewing machine and remove the cloth from the hoop. Carefully cut out, this area on top, between the wings and on the side of the head. Make notches, cutting out the two lines that are embroidered with running stitch. Assemble and deck the halls!
DRAWings PRO Help Group
Happy crafting and don’t forget to share your creations with us in the
DRAWings PRO Help Group!
You can download the .DRAW file of the project, for free, from the link below:
- Project’s .DRAW file: Christmas Decoration Angels
It can open only with the latest version of DRAWings embroidery software
Check also, our related project Advent Stocking Calendar


