DIY Valentine’s Day Special: Create Your Own Split Heart Keychain
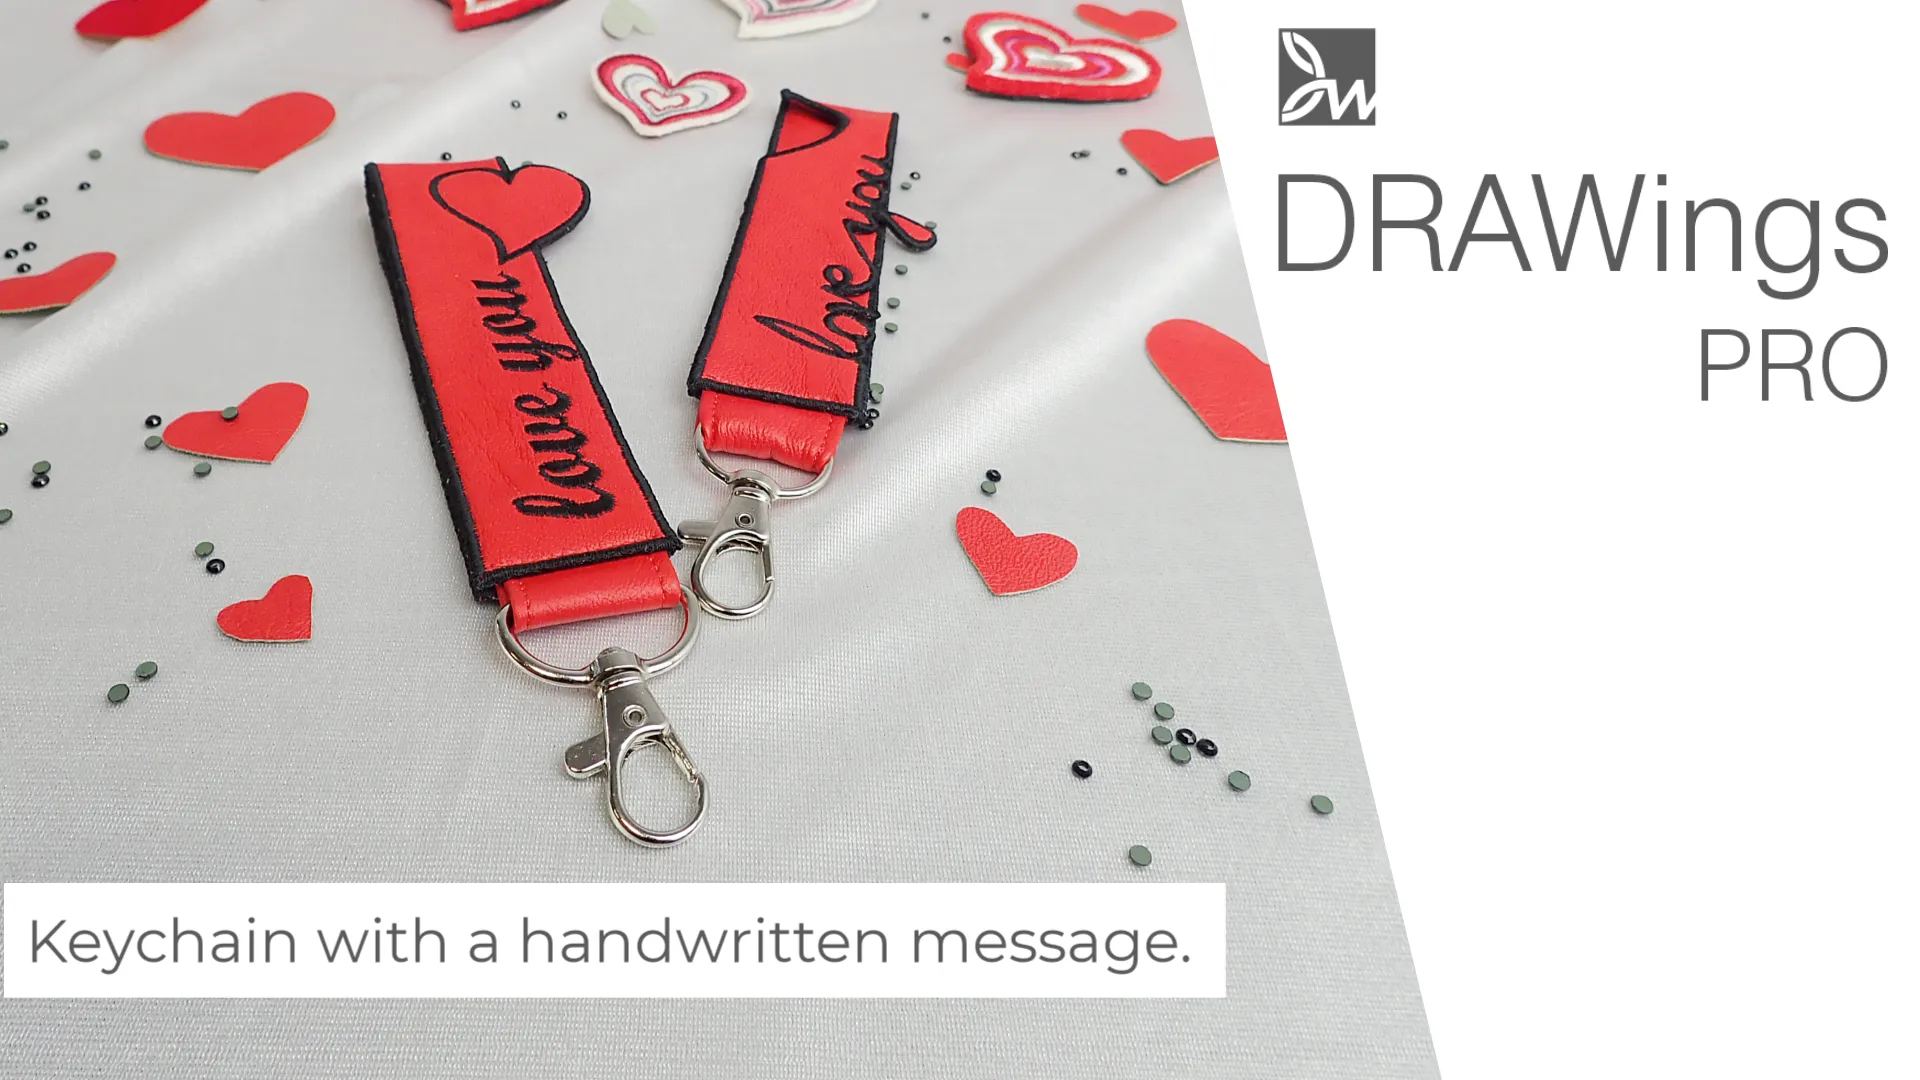
In this step-by-step tutorial, we guide you through creating a unique and heartfelt Valentine’s gift – a split heart keychain that you can share with your significant other or a dear friend. The process is simple and allows for customization, making it a perfect DIY project. You’ll learn how to craft two keychain holders with a clever design – one complementing the missing part of the other, symbolizing a special connection. Get creative and make variations of your own – we’d love to see your unique designs shared on our social media platforms! Enjoy the crafting process and the joy of giving a handmade gift.
Embracing Versatility
Embroidery has evolved, and DRAWings PRO allows us to break free from conventional patterns. In this post, we’ll showcase the software’s versatility by crafting a unique keychain that goes beyond the ordinary.
The Design Process of Split Heart Keychain
Begin by starting a new project and selecting a hoop size suitable for your machine. DRAWings PRO empowers you to experiment with dimensions, so feel free to let your creativity flow.
Creating the Base
Experiment with shapes and proportions. Create two rectangles, envisioning the final folded keychain. The software’s intuitive tools make this step a breeze.
- Draw two rectangular shapes vertically, ensuring the proportions suit your preferences.
- Disable proportional settings and set the width and height accordingly, considering that the design will be folded in half later for the keychain.
- Duplicate the shape to create two keychain holders.
Adding a Heart Symbol
Infuse personality by inserting a heart symbol. Position it strategically, creating an interplay between the rectangles. The heart doesn’t just adorn; it becomes an integral part of the design.
- Insert a heart shape using the Webdings font.
- Resize the heart to your liking (around 35mm in width) and place it between the two rectangles.
- Using the Shaping tools, trim one rectangle into the shape of the heart.
Digitizing a Handwritten Message
Capture the essence of personal connection by digitizing your handwritten message. DRAWings PRO’s Auto-digitize option simplifies the process, allowing you to transform your heartfelt words into an embroidered masterpiece.
- Write a message on paper, capture it with your phone or scan it, and import it into DRAWings PRO.
- Choose the Auto-digitize option and adjust the size.
- Ungroup and delete the background.
- Trim the white parts inside the letters using the Shaping tools.
- Use the node editor to ensure the handwriting is a continuous line.
Blending the Handwritten Message
Let the message seamlessly merge with the design. Rotate and position it, using the software’s tools to ensure a harmonious integration. It’s about creating a visual symphony that tells a unique story.
- Rotate the handwritten message by 90 degrees and place it on the outer edge of the shape.
- Combine the lettering with the edge using the node editor.
- Adjust the orientation to create a customized side for the keychain.
Preparing for Embroidery
DRAWings PRO facilitates a layered approach. Duplicate lines for placement and holding stitches, playing with colors to add depth. Think of these layers as the strokes in a painter’s canvas, each serving a purpose in the final composition.
- Duplicate the lines for placement and holding stitches.
- Assign different colors to distinguish layers.
- Set the outline type to satin serial and adjust the width for the keychain’s decorative stitches.
Sequence Adjustment
Consider the sequence of layers, envisioning how each element contributes to the overall design. DRAWings PRO‘s manual mode ensures you have complete control over the stitching process, enhancing the final result.
- Arrange the layers in the correct sequence, ensuring that placement stitches come before holding stitches.
- Confirm the sequence in manual mode for a flawless embroidery process.
Final Touches
Optimize your design by removing excess elements. Think of it as refining the final brushstroke on a painting. The goal is a cohesive, visually appealing keychain that reflects your creativity.
- Optimize the design by removing unnecessary parts, ensuring the heart sits seamlessly on top of the black satin line.
- Consider making the design monochromatic for a cohesive look.
Crafting the Keychain
Assemble your materials – hoop, stabilizer, interfacing, keyring, threads, and your chosen fabric. These elements form the foundation of your tactile masterpiece.
Materials Needed
- Fabric
- Tear-away stabilizer
- Interfacing
- Embroidery threads (matching the colors you want to use)
- Hoop
- Embroidery machine
- Keyrings

Stitching the Design
Embark on the embroidery process. Hoop the stabilizer, load the design, and let DRAWings PRO guide your machine in bringing your vision to life. The result is not just a keychain; it’s a tangible expression of your creativity.
- Hoop the stabilizer, load the design, and embroider the running stitches for fabric placement and holding.
- Secure the fabric, stitch the satin lines, and cut away excess fabric after stitching.
- Add the keyring to the keychain using a separate fabric piece.
Conclusion of creating Split Heart Keychain for Valentine’s day
Expressing love and creativity through personalized gifts is truly special. With DRAWings PRO Embroidery Software, you can turn your ideas into beautiful, tangible creations. Feel free to experiment with variations and share your unique designs with us through social media.
Whether it’s for Valentine’s Day or any other occasion, the joy of crafting something meaningful transcends the celebration itself. Enjoy the journey of creating, and happy embroidering!
Happy crafting!
DRAWings PRO Help Group
Happy crafting and don’t forget to share your creations with us in the
DRAWings PRO Help Group!
You can download the .DRAW file of the project, for free, from the link below:
- Project’s .DRAW file: DIY Valentine’s Day Special: Create Your Own Split Heart Keychain
It can open only with the XI and later versions of DRAWings embroidery software
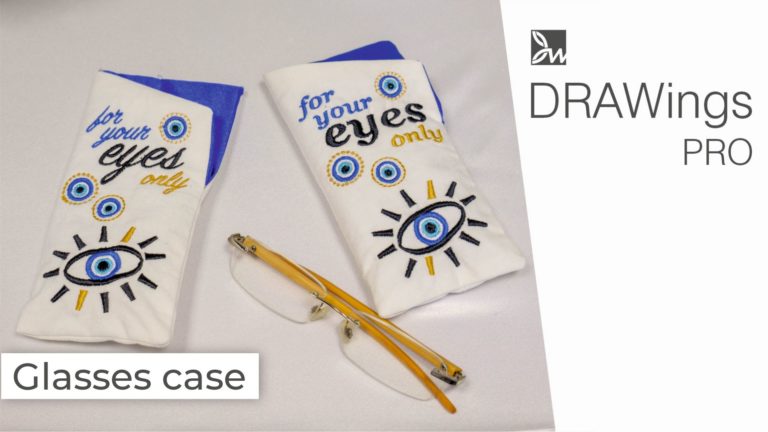
Check also, our related projects “Christmas Free-Standing Lace Tree“, “DIY Drawstring Backpack with Applique Decoration“, “How to Make a Detachable Collar with an Embroidered Monogram” & “HOW TO MAKE A BEAUTIFUL RABBIT KEY COVER FROM SCRATCH” & “DIY: HOW TO MAKE A CUSTOM GLASSES CASE WITH YOUR OWN DESIGN“
Remember, DIY projects are all about creativity and adaptability, so don’t hesitate to experiment and make the drawstring backpack truly your own. Happy crafting!

